When performers move from using stage monitors to in-ear monitoring, it can take a while to get used to the change. Although in-ear monitoring provides multiple advantages over conventional monitoring approaches, there are two huge differences. The most important is that in-ear monitors, when used with reasonable volume levels, are kinder to your hearing. This is because of the second big advantage: isolation from stage and ambient Definition:
- Something in a close vicinity.
- The natural sound of a space, or simulation of being in that space.
noise. Because the sound you hear isn’t competing with myriad other sounds, you can not only focus on the sounds you want to hear, you can listen at lower levels and still hear everything clearly.
So everything’s great, right? Well, almost...because that isolation is like listening to sounds with fingers stuck in your ears. If people are yelling at you from across the stage without a mic, you might not hear them at all. This isolation creates a less “natural” experience and one which goes against what we’ve experienced all our lives.
Fortunately, there are ways to create a more natural experience. First, take the time to find the in-ear monitors that work best for your ears and comfort, and whose sound you like. Every ear is shaped differently, and in-ear monitors offer different-sized “sleeves” to fit different ears. Ideally, you want the fit to be so good that after a while, you forget you have something stuck in your ear. Also remember that the earbuds you use to listen to music when exercising aren’t suitable for performance-level, in-ear monitoring. The latter are more specialized and designed specifically to provide the ideal experience for stage use.
The next step to a more natural experience is using isolation to our advantage instead of working against it, so let’s cover that next.
I Can’t Hear You…
When worship leaders first try in-ear monitors, it’s disorienting not to hear the congregation sing. You need that kind of feedback, and if it’s not there, you—not just the sound—will feel isolated. Although people sometimes pull out one ear’s monitor so they can hear what’s going on around them, this is a terrible idea with nasty consequences. All the stage noise goes into one ear, and then you have to turn up the volume to compensate for not getting sound in both ears. This means you’ve just negated a major benefit of in-ear monitoring, and your hearing will suffer for it—in-ear monitors work most efficiently and safely when you use both of them.
So are we back to square one? No! There’s a simple solution: miking the audience. However, it’s not as simple as just sticking a mic somewhere in the congregation.
Integrating the Congregation
Ideally, you want to use stereoDefinition:
A two channel signal simulating a sound space, typically played through two speakers. miking. The preferred placement is behind the PADefinition:
(Public Address) A sound system intended to provide audio coverage to large groups of people. speakers (preferably fairly far away from the PA to minimize pickupDefinition:
1. Transducer attached to a musical instrument that converts mechanical vibrations into an electrical signal for recording or amplification 2. The part of a phonograph that translates mechanical motion from grooves into electrical signals for subsequent amplification.), on either side of the stage, and facing the audience. A condenserDefinition:
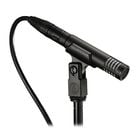
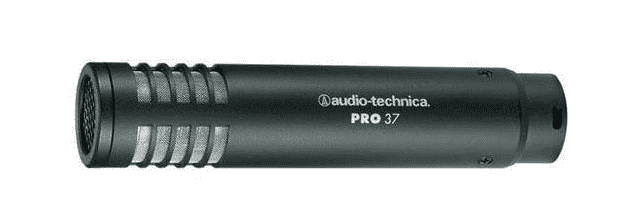
An archaic term for Capacitor. mic is better for this application than a dynamic mic, because it will be more sensitive and pick up the ambience better. You don’t need the world’s best mic, so aim for the sweet spot of affordability and quality sound—I use a pair of Audio-Technica PRO 37 condenser microphones (Fig. 1). The PRO 37 is a small-diaphragmDefinition:
The moving portion of a microphone that transforms sound waves into motion that can ultimately produce electrical waves. mic so it can handle loud sound levels, and has a cardioidDefinition:
A microphone's heart-shaped directional pickup pattern. response (which means it rejects sound from the rear).
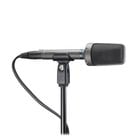
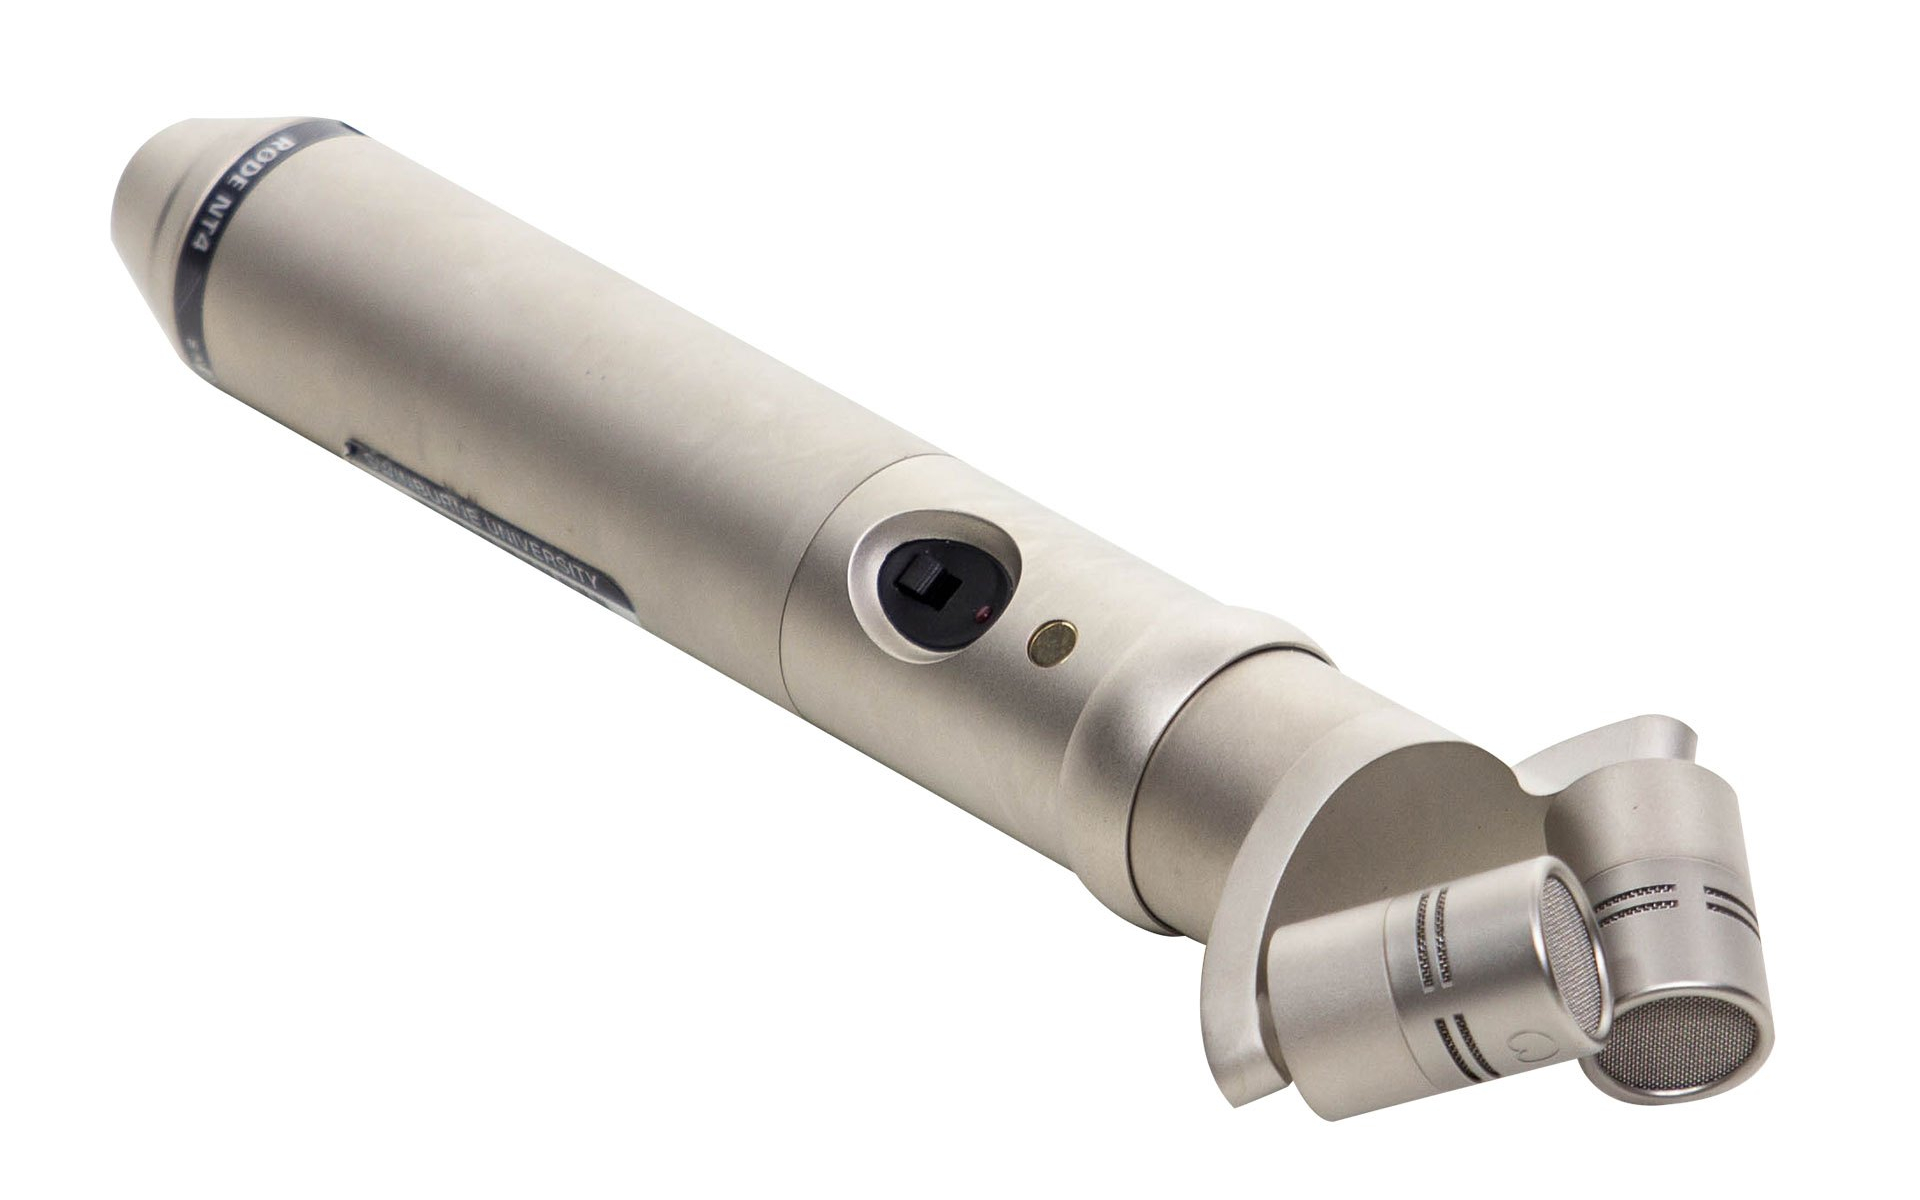
Remember that with mic placement, what the mic rejects is as important as what it picks up. With a cardioid response, pointing the mic away from the speakers and toward the congregation makes sure you pick up the sounds you want. If mics on opposite sides of the stage aren’t practical, you can center a stereo mic like Audio-Technica’s AT8022 or the RØDE NT4 (Fig. 2) on stage, pointing directly at the audience and behind an imaginary line drawn between the two PA speakers.
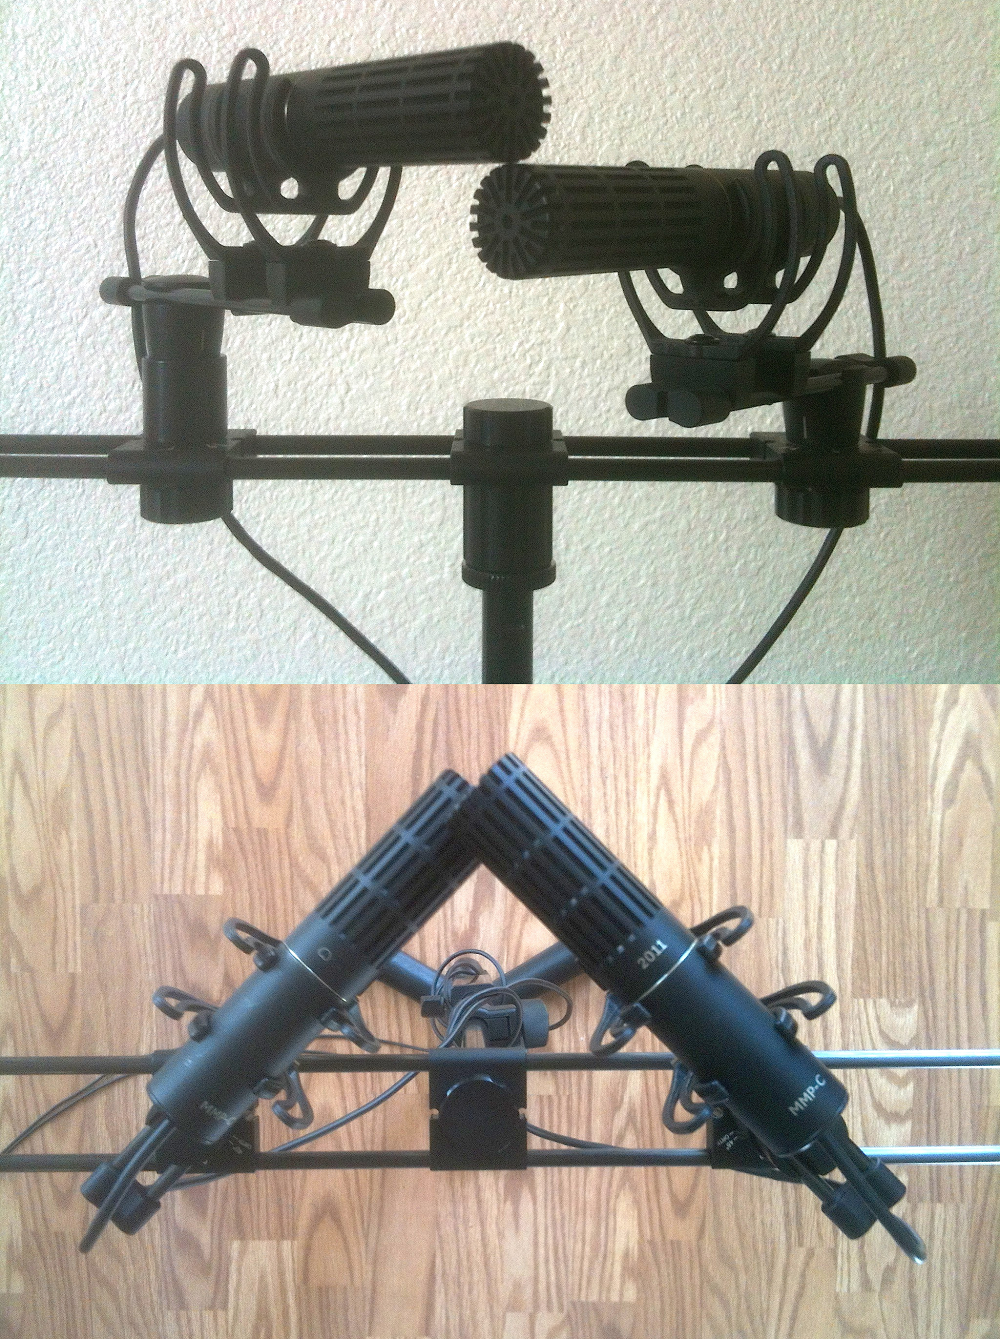
You can also place two mics (preferably matched) in an X/Y (coincident) configuration (Fig. 3) to pick up stereo signals. A mic mounting bar, like the Sabra-som ST2, is necessary for this type of application to hold the mic firmly in place.
There are several important considerations to take into account when using ambient mics.
- Don’t use the choir mics, or mics aimed at the stage, for this application. You need to dedicate ambient mics for picking up the congregation.
- Send the ambient sound only to personal monitorDefinition:
1. A stage monitor speaker that can be placed on a stand or an instrument so the player can hear a monitor mix clearly. 2. A system that allows a player to control their own monitor mix directly. mixes, not the main system. Also keep in mind that some people might not want to hear the congregation, so it’s best if the ambient mics feed a personal monitoring system that can adjust the ambient mic levels. - Make sure the stereo image is correct. When doing the sound check, speak into the left mic and check that it’s going into the left in-ear monitor. Reversed imaging will be very confusing to the performers.
- Roll off the low-frequency responseDefinition:
The range of frequencies that an audio, video or data device can pass. below around 300 to 400 HzDefinition:
See Hertz.. This reduces room rumbleDefinition:
A noise caused by mechanical vibrations being transferred to a audio transducer, such as a turntable motor., and besides, the congregation won’t be generating a lot of low frequencies anyway.
For additional information on using ambient mics, check out the articles Tips for Ambient Stage Mic’ing (external link) by Andy Swanson.
But I Don’t Have the Budget, the Monitor Sends, or the Time!
Yes, it does take a little work to set up ambient miking, convey the signal efficiently to personal monitor systems, and get the mix right. Fortunately, there’s an option that provides the advantages of in-ear monitoring, but also allows some ambient “bleed.”
Although several companies have produced “ambient” in-ear monitors, they’ve tended to be either expensive or ineffective. They work by including an open vent that lets some of the ambient sound into your ear, but this leads to poor bass response, and you’ll need to turn up the overall level to compensate.
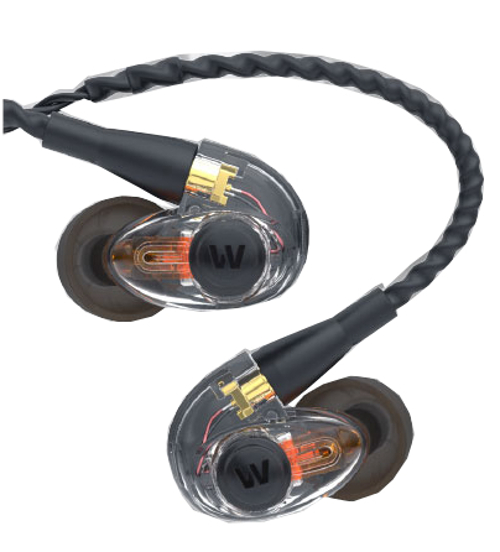
Westone’s AM Pro series of in-ear monitors (Fig. 4) uses their proprietary SLED (Sonic Low-Pressure Equalization Device) technology, which lets ambient sound in without degrading the active monitor signal. This maintains proper bass response with the clarity from in-ear monitoring.
Monitoring Matters
The bottom line of all this is that monitoring matters. Proper monitoring saves your hearing, creates a more comfortable playing environment, promotes better mixes, and ultimately, provides a superior experience for any congregation or audience. In-ear monitoring has been a tremendous boon to live performance—but also try mixing in some ambience to get the most out of this technology.