 By Full Compass Live
Sven Laurik’s Tips for Improved Voice-Over Recordings
Some of the most familiar voices you’ve heard belong to actors you’ve never seen. You might recognize James Earl Jones from CNN or The Lion King, but what about Don LaFontaine, that thundering voice behind over 5,000 movie trailers?
In the digital age, there are more opportunities than ever for voice-over talent. On-hold messages, video games, audiobooks, online learning programs, and podcasts have replaced the narration gigs of the past. With high-quality digital microphones that can plug right into your computer and plenty of free recording software, getting started can be as simple as making a few connections and getting that demo out there.
For some basics on how to make your voice heard, we turned to Sven Laurik, who parlayed his film, media, and multitrackDefinition:
A recorder that can record more than one individual track at a time, or individual tracks in sequence for subsequent mixing. smarts into a consulting business. Along the way, he picked up so many voice recording techniques that he wrote a primer for beginners called "Creating Voiceover Narration for Podcasts, eLearning, Video and Digital Media."
Below are Sven’s top six tips for getting the best voice recordings:
1. Go for the best read, then relax
The key point to remember about doing a read is that it’s a performance, which is sometimes easy to forget when you’re sitting in front of a microphone. Focus on capturing the best reading with the appropriate enunciation and emphasis to match the message. Anything that distracts from this objective will diminish the quality of the recording. Save thinking about fixes for later in the editing and revision stage of the process.
Learn the limits of your personal voice endurance. Some will max out at 15 minutes, while others can maintain the same energy level and voice characteristics for twice as long. Rest periods between recording segments are important and will vary in length, depending on the actor.
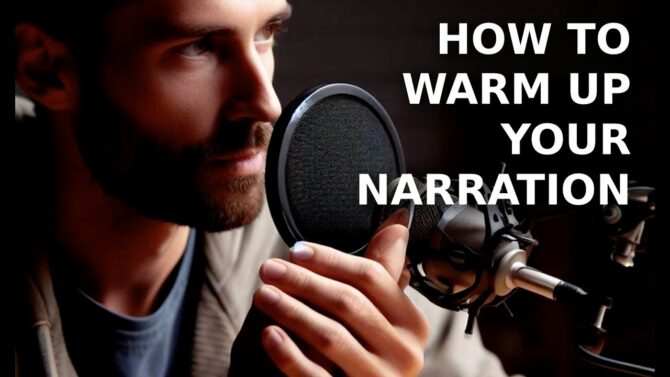
2. Determine the appropriate distance from the microphone
Position yourself too far back from the microphone, and your voice level will allow room sound and background noise to be noticeable on the recording. Position yourself too close to the microphone, and you may create plosives, the booming sounds your breath makes when it strikes the diaphragmDefinition:
The moving portion of a microphone that transforms sound waves into motion that can ultimately produce electrical waves. of the microphone.
Proper distance is usually around 6"-12" from the microphone, depending on the type of microphone and the speaker’s characteristics. Also, positioning the microphone slightly off-axisDefinition:
The characteristic of signals coming to, or emanating from, a less-sensitive point of a microphone, speaker, or antenna, or a point that doesn't radiate the most power. For example, sound addressing a microphone outside the angle of maximum pickup is considered off-axis or off-mic. See: Axis. from your head position instead of squarely in front of your mouth will reduce the amount of breath that hits the microphone diaphragm. Take some time to experiment with your specific setup to see what sounds best to you.
3. Consider using a windscreen
Windscreens come in two forms: a mesh fabric stretched around a circular frame that is placed between the microphone and the performer, and a foam cover on the microphone grille that reduces the velocityDefinition:
See MIDI Velocity. and energy of the air movement produced by the voiceover performer’s speech. When using a windscreenDefinition:
A foam or mesh filter to keep wind and breath from a microphone., experiment to see how close you can get to the microphone without hearing undesirable breath impact noises.
4. Make sure that you set the proper microphone level
If the input from the microphone is set too high, then the signal will exceed the capacity of the recording hardware or software, and "clipping" will occur. ClippingDefinition:
Distortion caused by overdriving a signal through an electronic device, to a level beyond which no more headroom is available. creates distortionDefinition:
A change in an electronic or acoustic signal's waveform. This can undesirable if it impacts signal quality, or desirable when used for creative signal processing. at each portion of the recording that exceeds the acceptable level for the hardware and software.
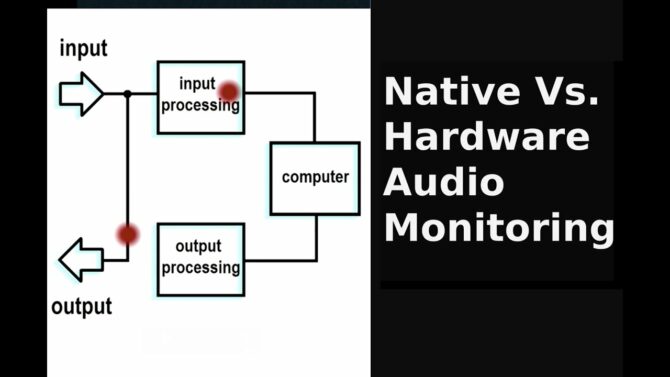
If your audio interfaceDefinition:
A device to convert audio signals into digital code suitable for use by a computer; typically communication occurs through a port such as USB, Thunderbolt, FireWire, etc.. has a volume (gainDefinition:
The amount of amplification provided by an amplifier circuit, expressed in dB or numerically as in "3X" = "3 times".) control for the microphone input, then it will usually have a meter or other visual that will light up when the levels exceed limits and clipping is occurring. Your recording software will also provide metering functions that will help you to set the proper level.
To set the proper level, speak into the microphone in the same manner as you will perform the voiceover (same distance from the microphone, same loudness and energy level, etc.) and watch the meter level indicators. Your input level should be within the upper limits of the green acceptable area. Occasionally, levels within the red area for louder segments of the voiceover are acceptable, as long as the clipping limit is not exceeded. Adjust the microphone gain/level control until you achieve a desirable level.
If you’re using a mixerDefinition:
Combiner, controller, and router for multiple audio or video signals., then there may be multiple points where you need to set the microphone gain (at the input, at the channelDefinition:
1. In radio, television, citizen's band radio, and other wireless communications modes, a specific frequency for communication. 2. In mixers and video, an input or output signal path with controls. 3. In MIDI, one of 16 data paths. and at the output). In that case, you should ensure that you do not either set any of the individual gain settings too low, requiring you to increase a later gain setting to reach a proper volume level, or too high, causing distortion at a later stage.
5. Tune your instrument
In this case, it’s your voice or the voice of the talent you’re recording. There are a few more considerations that can impact the recording. These include:
Consistency. In many cases, you may either perform the voiceover for the entire program over several recording sessions or incorporate edits and revisions to previously recorded segments, so it’s critical that you match vocal qualities across all sessions. When revising previously recorded segments, it’s a good idea to listen to the previously recorded segments to remind yourself of the pacing and voice tone that you used before.
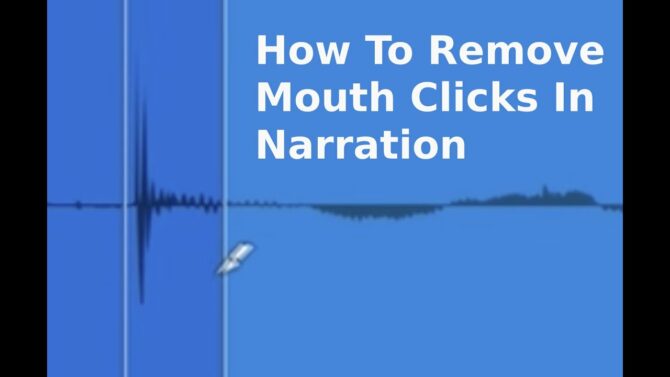
Breath Control. As you listen to playbacks of your voice performance, the points where you catch your breath will often be audible. As you gain more experience as a voice-over artist, you’ll learn how to minimize the impact of breath noise on your performance. Also, for many recordings, you can edit out points where breath noises are distracting by either muting or deleting those segments.
Plosives. This refers to "popping your Ps" where the air movement generated by speaking words beginning with P (also T, K, B, D, and G) impacts the diaphragm of the microphone and creates a booming sound on the recording. You should be able to hear this through headphones when you monitor the performance in real-time. Take steps to minimize it by controlling your pronunciation, changing the position of the microphone, or using a windscreen.
SibilanceDefinition:
A high-frequency, hissing sound produced by speaking or singing consonants such as "s." When excessive, it can produce an unpleasant distortion that can be minimized with a De-Esser signal processor. See De-Esser.. This refers to instances where words with the letter S are spoken with a slight hissDefinition:
Random noise that is inherent in electronics-based audio equipment. or whistle. Prompting the talent to be aware of this issue and to make a concerted effort to avoid it can help. An easier solution may be the use of a De-EsserDefinition:
A signal processor that reduces sibilance ("ess" sounds) from vocals., an equalizerDefinition:
A device that changes the tonal characteristic of sound to either compensate transmission losses or to change a sound's character or timbre. See also: Filter tuned to reduce the intensity of the sibilance sound frequencyDefinition:
A value, expressed in Hertz, that indicates how many cycles of a periodic signal occur in one second. ranges. The processorDefinition:
A device that modifies signals. In audio, this typically affect dynamics, frequency response, harmonics, or time. In video, processors typically affect color, intensity, and special effects. engages when the sibilance within the set range exceeds a user-set level, automatically reducing the prominence of the sound within that range.
6. Listen to your performance through good quality headphones
This will allow you to hear exactly what the microphone is picking up while recording, and help you identify the sound of shuffling papers, traffic noises, fans and blowers, artifactsDefinition:
Errors in digital conversion, recording, processing or transmission of audio and visual information caused by compression, quantization, jitter and/or packet loss. you don’t want in your voice-over recording. Hear any? If so, then it’s time to edit and re-record.